Unlock Bakery-Quality Soft Pretzels in Your Own Kitchen
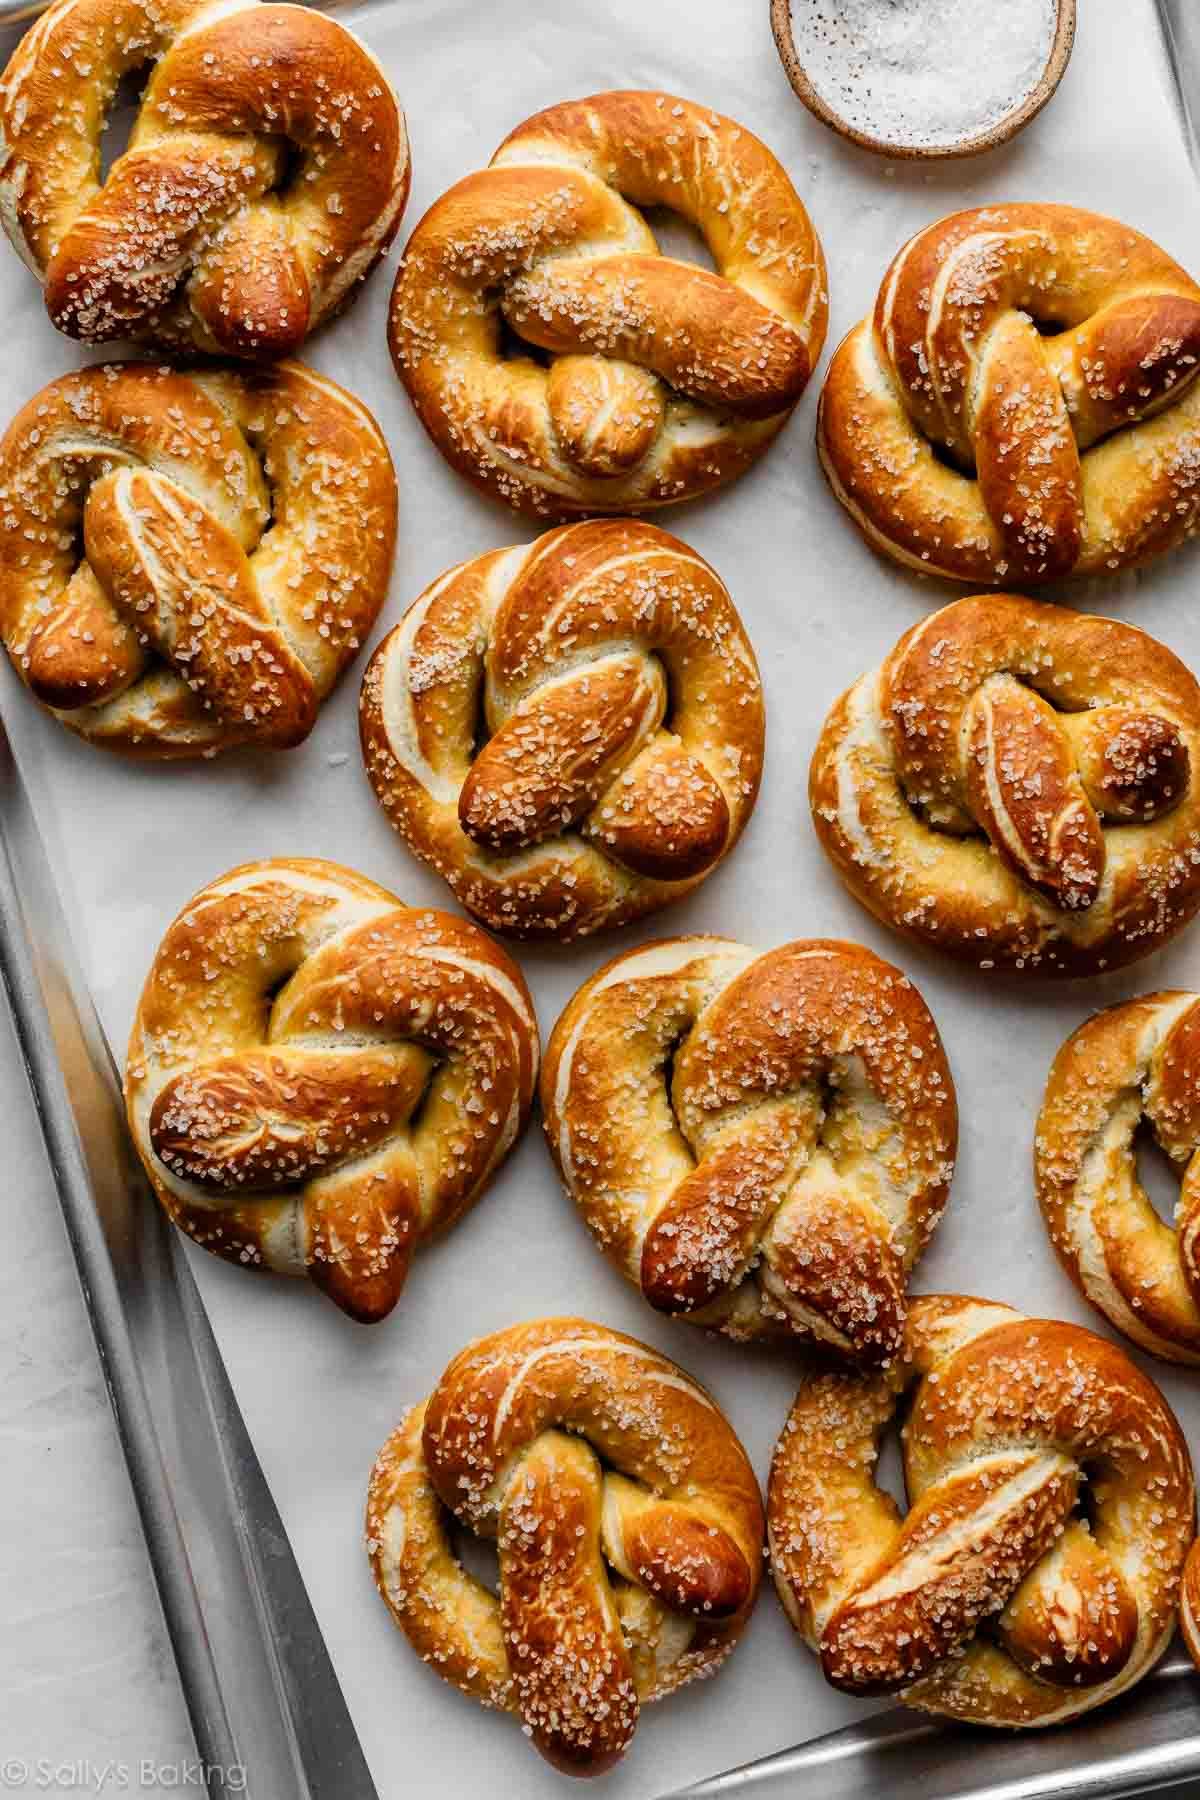
Imagine the irresistible aroma of warm, freshly baked pretzels filling your home, their golden crust glistening, promising a perfect chewy bite. For many, this sounds like a treat reserved for bakeries or street vendors. But what if we told you that achieving these delightful results is not only possible but surprisingly straightforward, even for novice bakers? Get ready to discover the magic of making
easy homemade soft pretzels that will rival any you've ever tasted.
There's a special kind of joy that comes with baking, especially when the crisp autumn air signals the perfect time to create something warm and comforting. This recipe, honed over years, is designed to be approachable and incredibly rewarding. It demystifies the process, transforming a seemingly complex task into an enjoyable culinary adventure. From the first knead to the final sprinkle of salt, you’ll be guided every step of the way, ensuring a batch of pretzels so good, they might just become your new favorite tradition.
The Secret to Irresistible Easy Homemade Soft Pretzels
The beauty of these pretzels lies in their deceptive simplicity and the incredible payoff. Achieving that signature glossy, golden exterior and wonderfully chewy interior comes down to a few key techniques and quality ingredients. This recipe cuts through any intimidation, focusing on clear, actionable steps that guarantee success.
The journey to perfect pretzels begins with understanding the role of each component and the process. Unlike many baked goods, soft pretzels have a unique texture that balances a hearty chew with a slightly airy crumb, all encased in that distinctively flavored crust. This isn't just about following instructions; it's about building confidence in your baking skills, one delicious pretzel at a time. For those looking to dive deeper into the world of homemade pretzels, explore
Easy Homemade Soft Pretzels: Bakery Quality in Your Kitchen for more insights.
Gathering Your Simple Ingredients
One of the most appealing aspects of this recipe is the minimal list of common pantry staples required. You won't need any exotic flours or specialized equipment beyond a stand mixer (though hand-mixing is possible with a bit more elbow grease). Here’s what you’ll need:
- Warm Water: Crucial for activating the yeast. Ensure it's not too hot (which can kill the yeast) or too cold (which won't activate it).
- Granulated Sugar: Feeds the yeast, helping it to activate and contribute to the dough's structure and a hint of sweetness.
- Fine-Grain Salt: Balances the flavors and slows down yeast activity slightly for better dough development.
- Active Dry Yeast: The leavening agent that gives the pretzels their rise and airy texture.
- All-Purpose Flour: The primary structural component, providing the gluten needed for that chewy bite.
- Melted Butter: Adds richness, flavor, and contributes to the dough's tenderness and elasticity.
- Baking Soda: Essential for the traditional pretzel bath, creating the unique crust and flavor.
- Coarse Salt: For that iconic crunchy topping.
Crafting Your Dough: The Foundation of Chewiness
The dough is the heart of your pretzel. Getting it right is key to that classic chewy texture. This process is straightforward, especially with the right tools.
Activating the Yeast & Mixing Your Dough
Start by combining the warm water, sugar, and fine-grain salt in the bowl of a stand mixer. Whisk them together until the sugar and salt dissolve. Then, sprinkle the active dry yeast over the surface and let it sit for 5-10 minutes. You'll know it's ready when the surface becomes bubbly and frothy – a clear sign your yeast is alive and ready to work its magic!
Once activated, add the flour and melted butter to the bowl. If you have a stand mixer, this is where it truly shines. Attach the dough hook and mix on low speed until a shaggy dough forms, then increase the speed to medium and knead for about 5-7 minutes. The goal is to achieve a smooth, elastic dough that pulls away cleanly from the sides of the bowl. Using a stand mixer ensures proper gluten development, which is fundamental for that signature chewy texture, while also saving you significant time and effort. If kneading by hand, be prepared for 10-15 minutes of vigorous work to reach the desired elasticity.
The All-Important First Rise (Proofing)
Once your dough is perfectly kneaded, transfer it to a lightly greased bowl, turning it once to coat all sides. Cover the bowl with plastic wrap or a damp kitchen towel. Now, it's time for the first rise, or "proofing," where the yeast truly begins to build flavor and create that light, airy texture that wonderfully balances the pretzel’s hearty chew.
Place the covered bowl in a warm place until the dough has doubled in size, which typically takes about 1 hour. A fantastic tip for beginners, or anyone looking for a more controlled and slightly quicker rise, is to use your oven. Simply preheat your oven to its lowest setting (usually around 170°F or 75°C), then turn it OFF. Wait 5 minutes for the initial intense heat to dissipate, then place your covered dough bowl inside. This creates a consistently warm, draft-free environment where your dough will proof perfectly in about 40-45 minutes. This gentle warmth ensures active yeast, leading to a beautifully risen dough.
From Dough to Delicious: Shaping and Preparing for Baking
This is where your dough truly transforms into recognizable pretzel shapes! Don't be intimidated; the beauty of homemade pretzels often lies in their charming, rustic imperfections.
Dividing and Rolling Your Dough Ropes
Once your dough has gloriously risen, gently punch it down to release the air. Transfer the dough to a lightly greased work surface. Divide the dough into eight equal pieces. To prevent your dough from drying out, which can make it difficult to roll, always keep the pieces you're not actively working with covered with a slightly damp kitchen towel.
Take one piece of dough and begin rolling it into a long, thin rope, aiming for approximately 24 inches in length. The key here is to apply even pressure as you roll, working from the center outwards. If the dough springs back or feels too resistant, don't force it! This means the gluten needs to relax. Simply cover the rope with your damp towel, let it rest for 5-10 minutes, and then try rolling again. You'll find it much more cooperative. For additional simple steps to golden perfection, check out
Irresistible Homemade Soft Pretzels: Simple Steps to Golden Perfection.
The Classic Pretzel Twist
Shaping a pretzel is easier than it looks!
- Form the long rope into a large "U" shape, with the curve pointing away from you.
- Take the two ends and cross them over each other once.
- Cross them over a second time, so they twist twice in the center.
- Carefully bring the twisted ends down and press them firmly onto the bottom curve of the "U." Imagine a clock face, and you're pressing the ends around the 4:00 and 8:00 positions.
Gently transfer your freshly shaped pretzel to a parchment-lined baking sheet. For beginners, a clever trick is to shape your pretzels directly on individual 5x7-inch parchment squares. This makes transferring them to the baking soda bath and then back to the baking sheet incredibly easy, helping to maintain their delicate shape and preventing any sticky mishaps.
The Lye-Free "Boil" for Authentic Flavor and Crust
This step is non-negotiable for achieving that classic pretzel taste, texture, and beautiful golden-brown, glossy crust. While traditional pretzels use lye, a quick baking soda bath offers a safer, equally delicious alternative.
Bring a large pot of water to a rolling boil. Add about 1/2 cup of baking soda to the boiling water (be careful, it will foam up significantly!). Reduce the heat slightly to maintain a gentle boil. Working one or two at a time, carefully drop your pretzels into the baking soda bath. Let them simmer for only 20-30 seconds per side. Any longer, and they can become tough.
Using a slotted spoon, carefully remove the pretzels from the bath, allowing any excess water to drip off. Immediately place them back onto your parchment-lined baking sheet. This alkaline bath is crucial because the baking soda raises the pH on the pretzel's surface. During baking, this high pH promotes the Maillard reaction, leading to that characteristic deep golden color, crisp crust, and unique "pretzel" flavor.
Baking Your Golden Chewy Bites
Once all your pretzels have had their baking soda bath and are back on the baking sheet, it's time for the final touches. Immediately sprinkle them generously with coarse salt. The wet surface from the bath ensures the salt adheres perfectly.
Preheat your oven to a high temperature, typically around 450°F (230°C). Bake the pretzels for 12-15 minutes, or until they are deeply golden brown and puffed. Keep an eye on them, as oven temperatures can vary. The glorious aroma will fill your kitchen, signaling that perfection is just moments away!
Enjoying Your Easy Homemade Soft Pretzels
The absolute best way to enjoy your homemade soft pretzels is straight from the oven, still warm and slightly steamy. Their chewy texture and savory saltiness are simply divine. Serve them with your favorite dipping sauces – classic yellow mustard, spicy brown mustard, a creamy cheese sauce, or even a sweet cream cheese dip if you opted for a cinnamon-sugar variation.
These pretzels are truly a testament to how simple ingredients and a little effort can yield extraordinary results. They’re perfect for game days, parties, or just a cozy afternoon snack. While they are best enjoyed fresh, leftovers can be stored in an airtight container at room temperature for a day or two and gently reheated in the oven or microwave.
Conclusion
Embarking on the journey to make
easy homemade soft pretzels is a remarkably rewarding experience. From mixing a simple dough to expertly twisting and baking, each step builds towards a delicious outcome that will impress friends, family, and most importantly, yourself. There's an unparalleled satisfaction in creating something so beloved from scratch, and with this beginner-friendly guide, you're well-equipped to achieve bakery-quality results right in your own kitchen. So, gather your ingredients, fire up your oven, and get ready to indulge in the warm, chewy, perfectly salty goodness of your very own soft pretzels. It's time to make this delightful baking tradition your own!